Creating ‘Light’
Hello dear reader. Welcome back to my blog and creative space. I hope you will enjoy this step by step journey in the creation of 'Light' series part I. During darker days in winter, this sculpture was in a way a rebirth of light to me, a connection to fire through creativity and experimentation. In the past year I have been experimenting more with sculpture and finding ways to connect them with paintings and stories that I made in the past. This time I decided to make a sculpture completely independent of a painted surface and, even more so, to give it the ability to interact with space and light on its own.
Before sculpting it’s armature time.
First, before sculpting, I started with the armature. It helps to hold the form of a sculpture, provides durability and the ability to hold a more expressive fragile shape. It works very similarly to bones in our bodies by providing support and shape. For this step, I use metal wires that I twist and shape a figure I need and aluminum foil to fill in parts that have the most volume to build up. In that way, instead of using an excessive amount of clay, I am able to shape and fill in the form before introducing clay.
Building with clay. What was important to me?
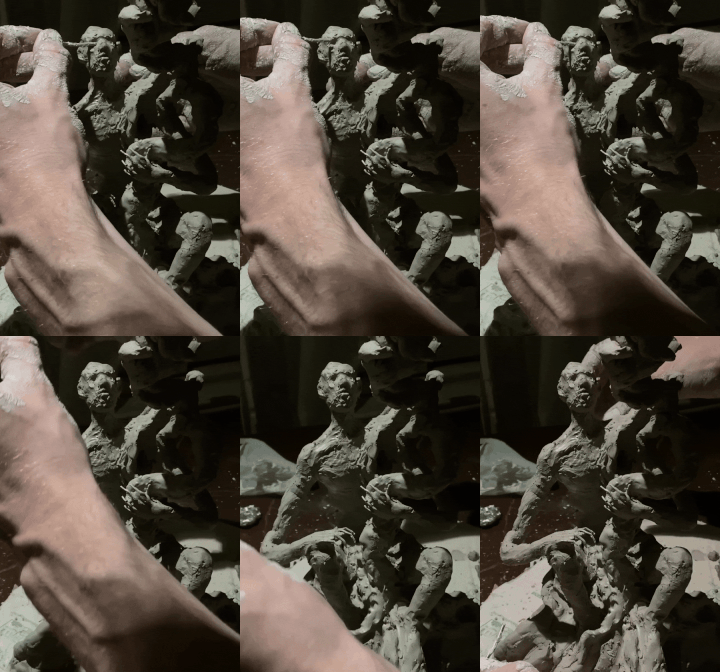
Once the armature is done, I start sculpting and building with clay. I use air-dry clay. I find it to be a perfect medium for me because i don't have to cook it in the oven for it to cure and seal. Before sculpting, I had a few sketches made for the idea that helped me to understand my focus points, but in a way, I allowed my imagination to do most of the work. I desired to create a spiral kind of motion that goes all the way up to hold the candle. The idea was that the light should be on top and resonate through the whole piece until it reaches the base and the floor. I worked in a more direct, rough and less defined style to exaggerate this earthy natural feeling but still keep major details in.
Oh no. . . it cracked !
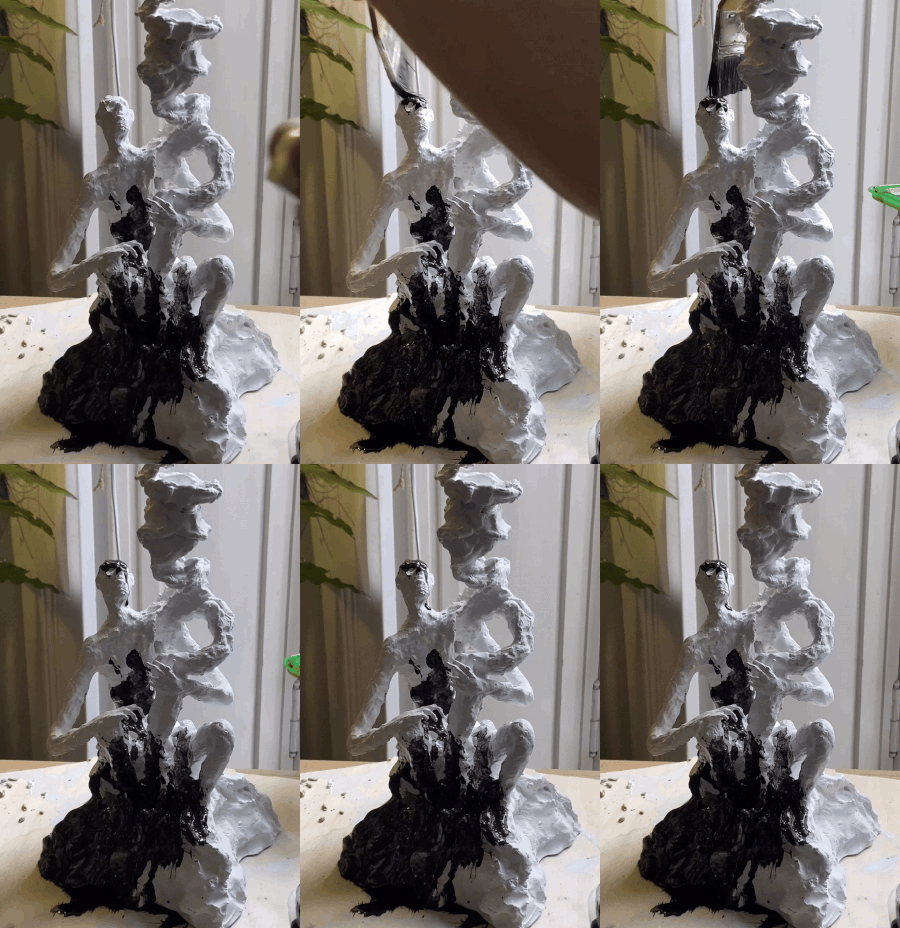
Once I reached my desired shape, I left the sculpture to dry for several days until it was completely sealed. If you see that the sculpture has suffered some cracking, don't worry, it is very normal. It happens due to the speed of drying and different thickness of clay and a few other reasons. Some cracks can be quite deep and big with major alterations to the design, so I would definitely recommend sealing them to even things out and to strengthen those points again. I use epoxy clay for that purpose. It is a substance that acts just like clay. It dries up in 24 hours, does not expand, and it is super durable at the end. Once the cracks were sealed, I painted the sculpture with white acrylic paint and created a more even surface base.
Is it green or blue ?
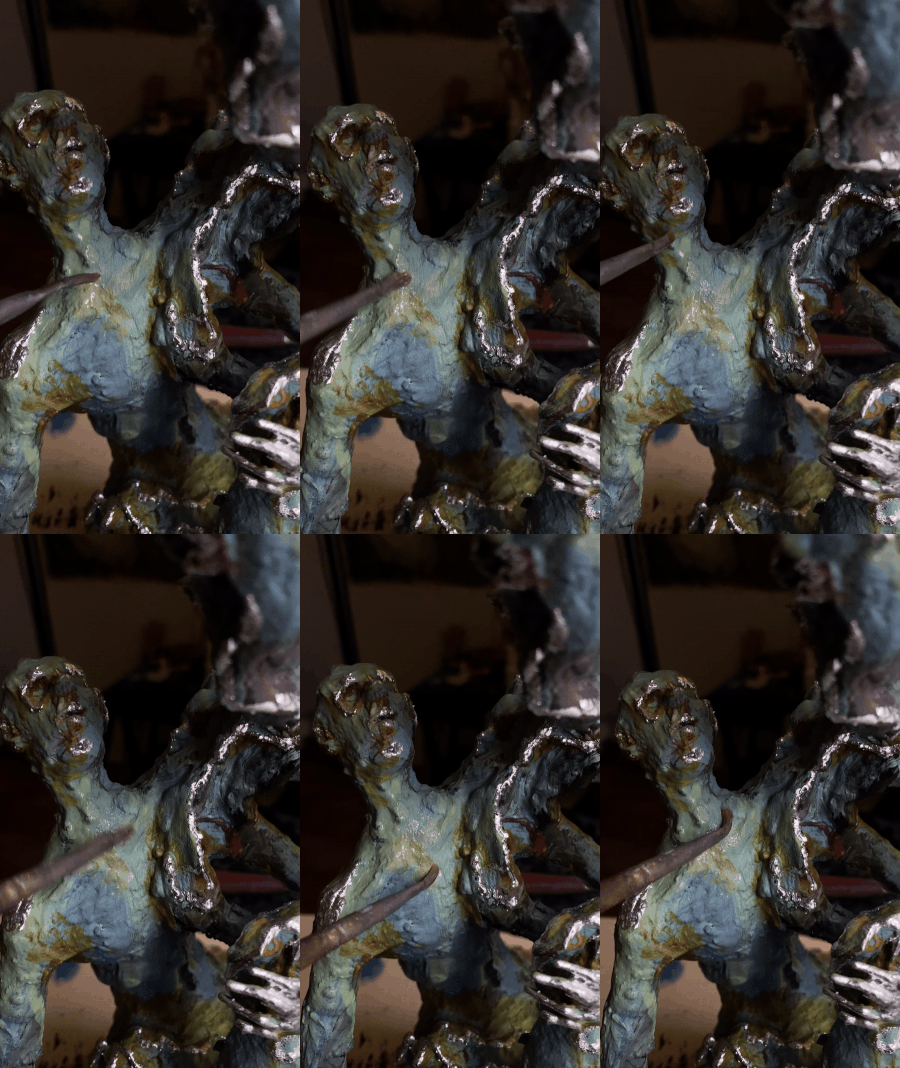
After the surface has dried up, I started adding layers of color. I am inspired here by the colors of oxidized copper, similar to my fusion project ‘Manifesto’ with shades of turquoise green, blue and yellow merging together with specks of purple and red. I find these shades in nature as well, a color combination that creates a feeling that the sculpture came from the surreal forest or a natural living habitat.
Silver, silver and a little more silver…
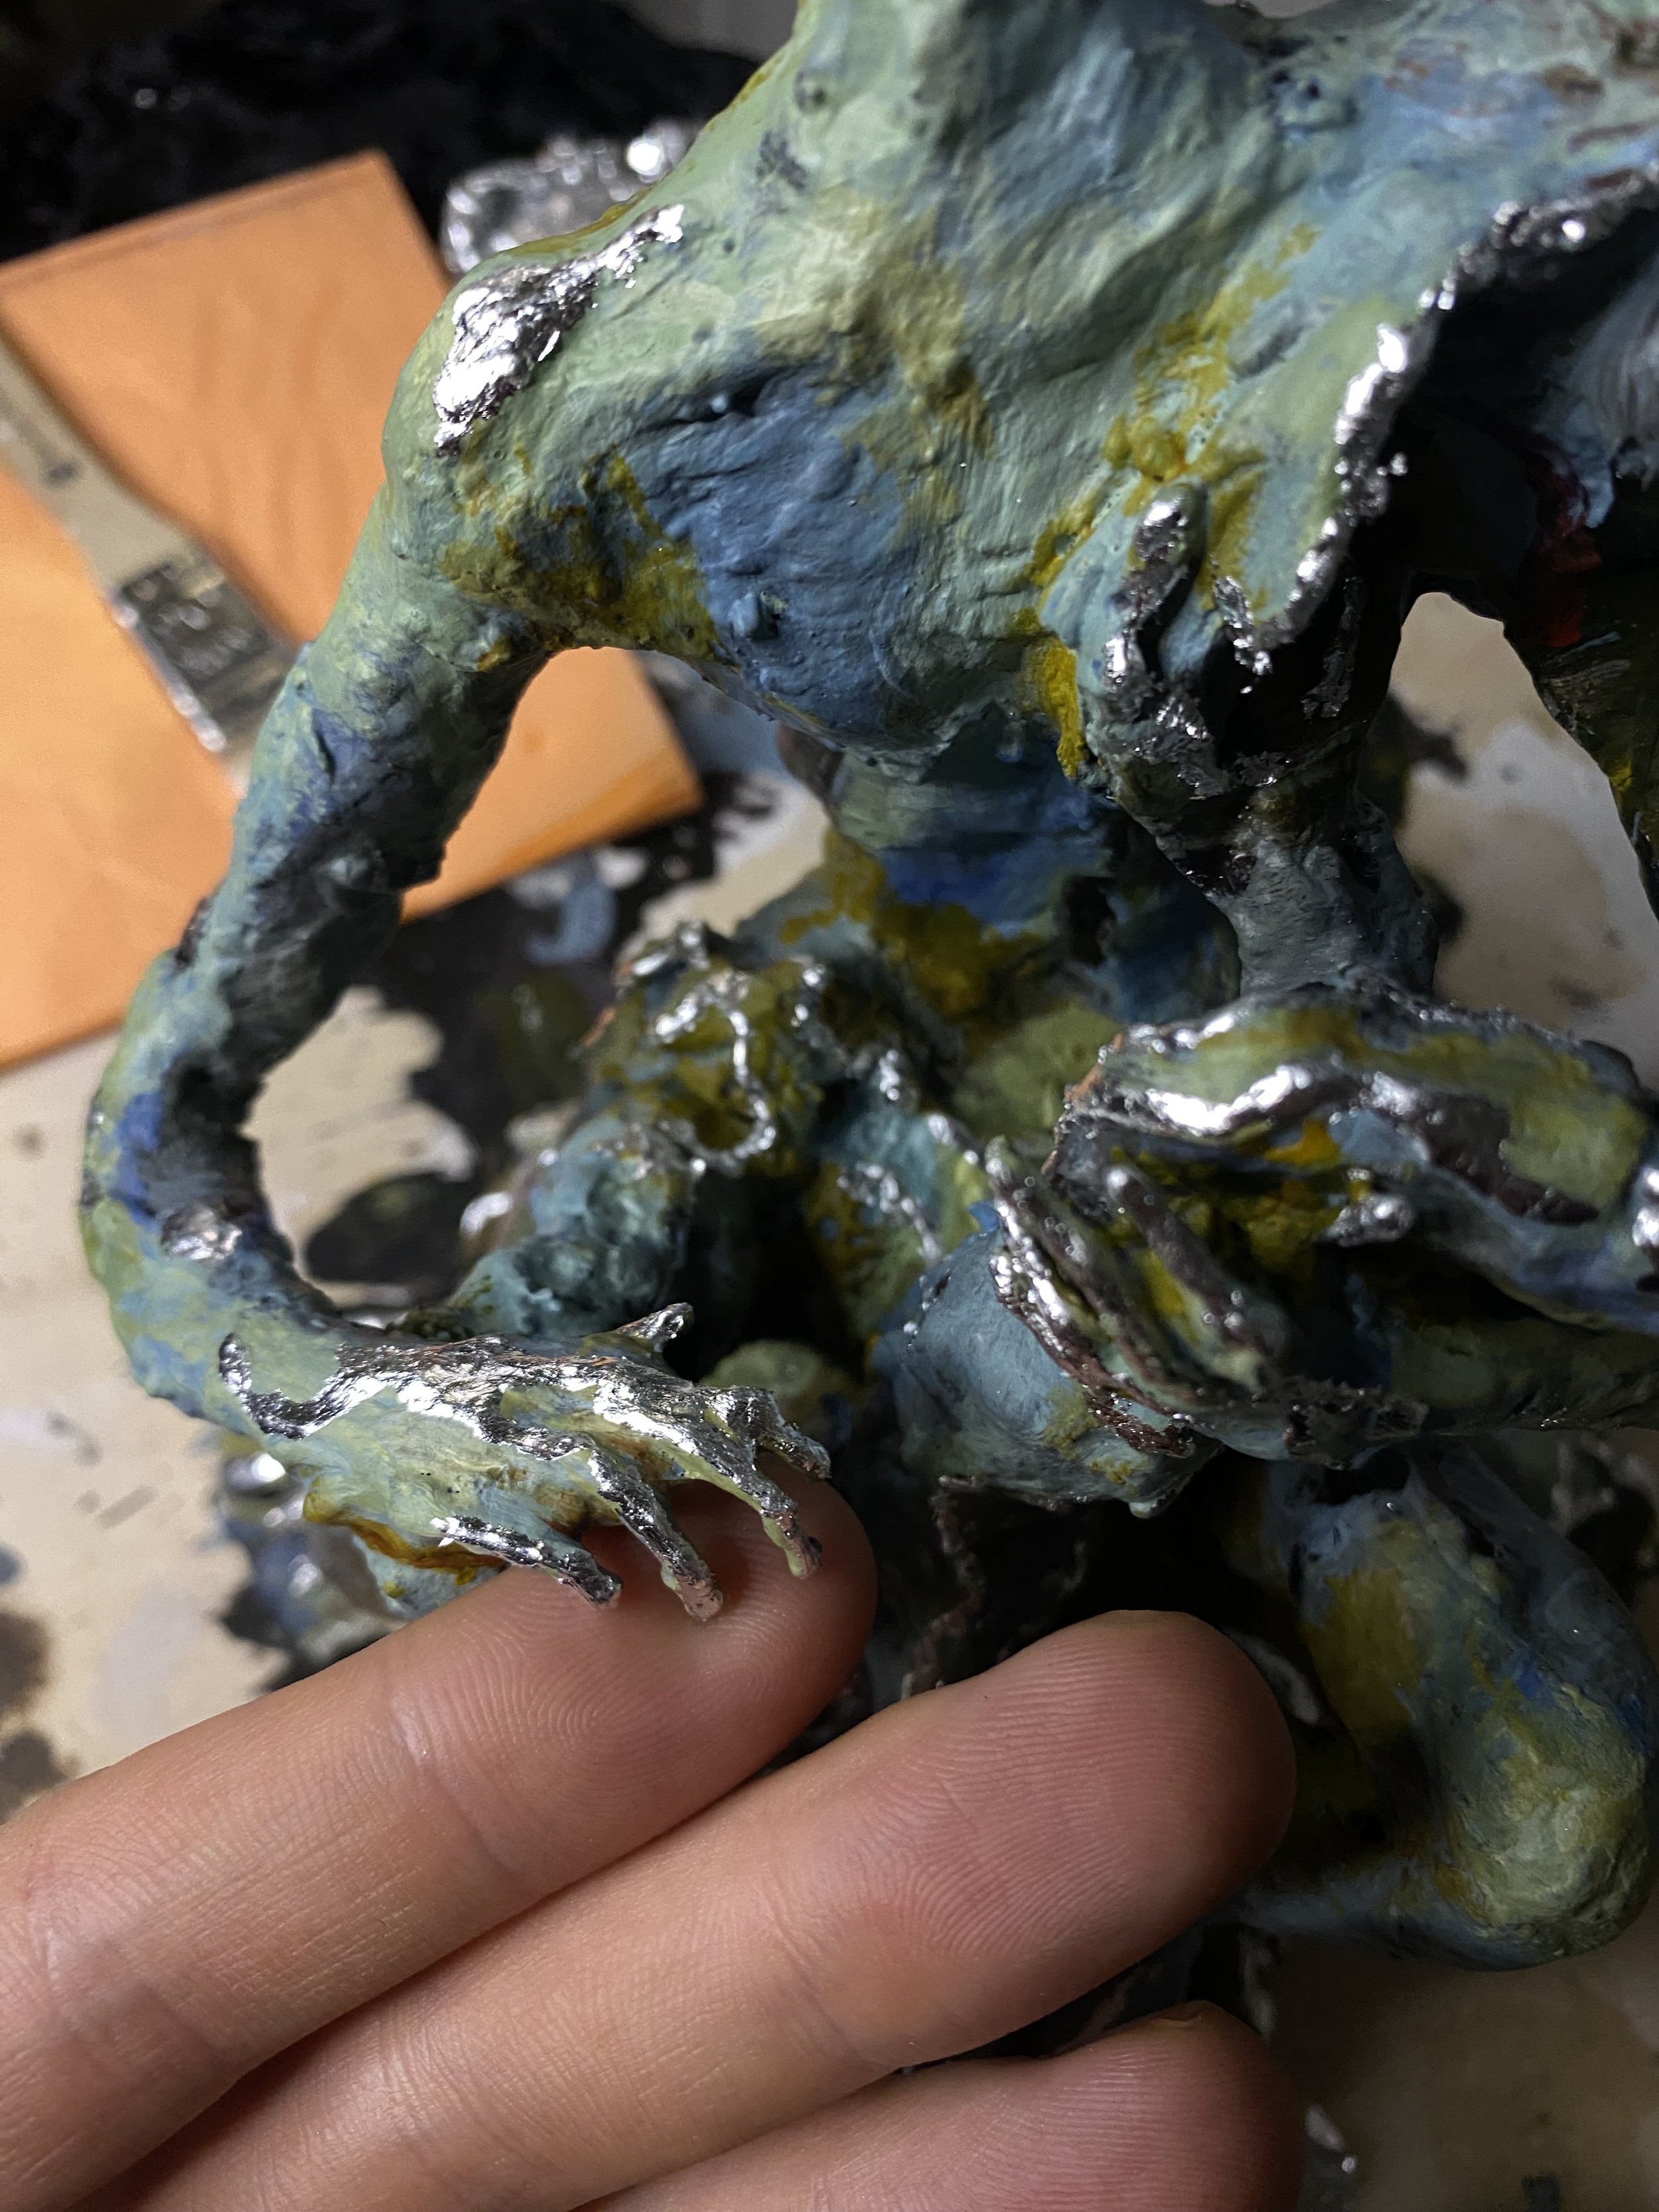
After all the paint layers have dried up, I start the process of silver gilding. With this technique, I wanted to bring metal to the playground. Almost like parts of the sculpture have been roughed down, stripped down to the bone of it and the bone is silver. Reflections of the metal give another life and dimension to the piece, and it tells an additional story of life for that light and its journey through this sculpture - from above down to the base. It is a tedious process that at times requires attention to the way that you apply glue and where you apply silver leaf on top, you go with intention and never carelessly.
Use protection! Better safe than sorry…
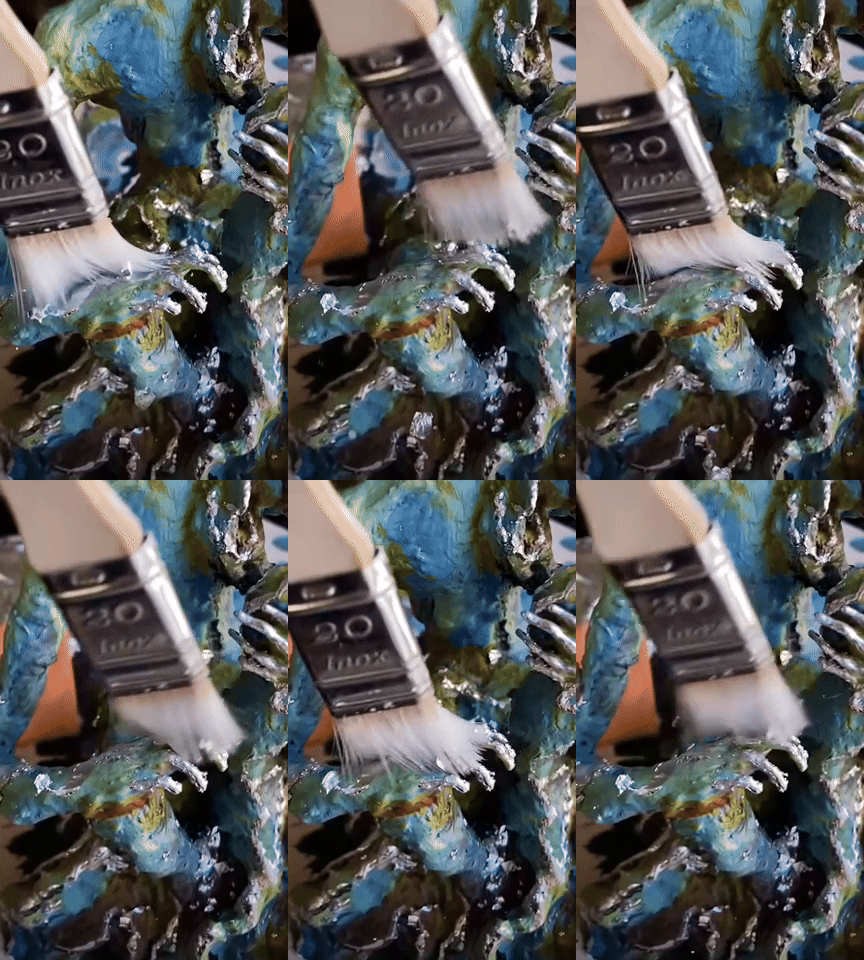
When the glue has dried and sealed with silver leaf, I move to the last step - varnish. Varnish has many purposes for me, but the most important are protection and looks. Silver leaf must be sealed, or it will tarnish in time, so to avoid that, you must varnish and protect it, not to mention all the touching and possible physical damage in the future. This idea of protection applies to the whole sculpture. Paint color gets affected in time, so for archival reasons, it is best to protect it. In addition, for this design I wanted a ‘wet’ look, so I chose glossy varnish to create it.
And here we are. A few steps as we went through the journey of creating this sculpture. I hope this was helpful to some of you just trying out sculpting and also if you want to understand how this came to be. If you read this send me a message on my instagram page @gytistudio so I know, share your thoughts with me and remember to stay creative!
How can you order this limited edition sculpture? By clicking here you will find all the necessary information.
Until next project !
xx


